Gimptastic Scraps Available Exclusively @

Gimptastic Scraps CT


Blog Trains

CU Licenses


Showing posts with label Masks. Show all posts
Showing posts with label Masks. Show all posts
Thursday, March 21, 2013
Tasha over at Tasha's Playground asked me to make some masks to compliment her new kit Greek Goddess. I hope you all like :)


Here is Tasha's kit that will be released soon. You can check out her blog HERE to see where you can purchase it.

Saturday, July 14, 2012
Our sweet friend Tasha over @ Tasha's Playground is expecting a little baby bundle any day now!!!! So, Leah and I along with our girl Sarah @ Sarah's Tags N Things got together and decided to surprise Tasha with a collab to celebrate :)
Somehow she managed to not find out what she is having until baby arrives (I would go nuts...LOL). so all of our kits and stuff are either gender neutral or represent both genders :)
Click on the previews to download each part of our collab.
Amy's part:

Leah's part:


Sarah's part:

Monday, October 17, 2011
This tutorial is of my own creation and any resemblance to any other tuts is purely coincidental. This tutorial is for personal use only, using it for monetary gain is against our TOU's.
Using masks in Gimp is a little tricky. Here is a tutorial on how to use them. I am not going to add this to a tag, but if you would like to add a mask to a tag you need to move the layers to the bottom.
Supplies:
Mask 1 from our blog HERE
Here we go!
-Go to File>New and make the canvas size 600x600 pixels. Press okay.
This part won't be needed if you are adding a mask to a tag.
-Add a new layer by clicking the folded paper icon at the bottom of your layer box.
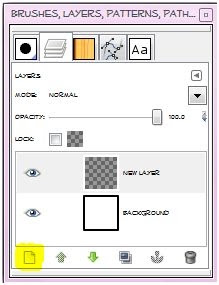
Using your bucket fill tool fill the new
layer with color of choice. I am using black. You can also do this with a paper from a scrap kit if you'd like. To
do that, just open the paper and move the paper layer to the bottom in your layer box and skip adding a new layer and filling it with color.
-Open your mask and make sure it is above the black layer in the layer box. You may get a pop up box like the one below. Just press convert.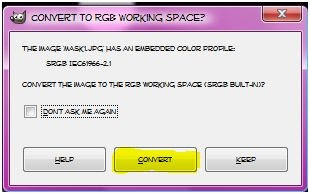
-Make your black layer (or paper layer) active and right click the layer in the layer box. Click add layer mask. Make sure black (full trancparency) is checked. Click add. 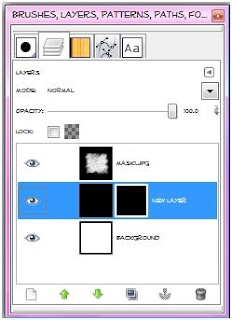
-Make sure there is a white outline on the 2nd box by your black layer in the layer box. If not, just click on it the layer box. 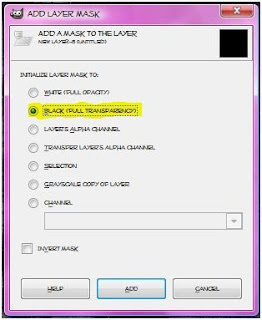
-Make your mask layer active. Go to Edit>Copy. Hide this layer by clicking the little eye next to the layer in the layer box. 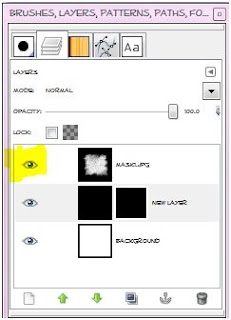
-Make your black layer (or paper layer) active. Go to Edit>Paste. Now you will have a floating section in your layer box. You need to anchor it. To do this click the little anchor icon at the bottom of the layer box. 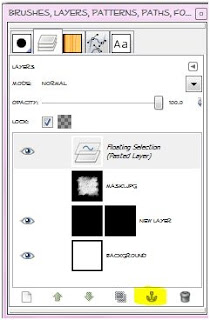
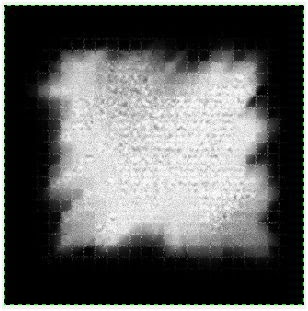
-You can delete the mask layer in the layer box. Now you should just see the mask. 
Thursday, March 10, 2011

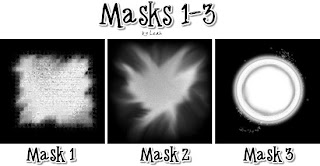
It has been a while since I have made some masks! I hope you can get some use out of these:)
 You can download them HERE.
Friday, October 15, 2010
I made some halloween masks for you today. If you download please leave some love!
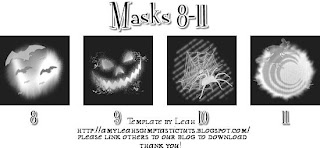
Download them HERE
Wednesday, September 8, 2010
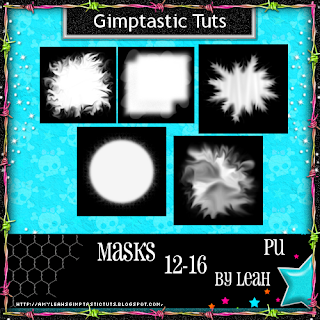
Here are some new masks and templates for you to play around with. If you make anything using any of our freebies you can send them to Gimptasticblog@yahoo.com.
Take a sec to say thanks if you download! You can get the masks HERE
You can get the masks HERE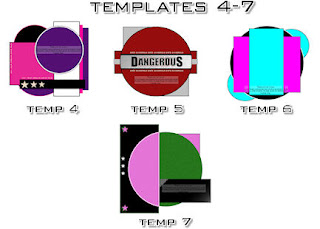
You can get the templates HERE
Tuesday, August 24, 2010
I made some masks for you all today.
Please leave us some love if you download!
Please keep in mind that I haven't made many masks,
so they aren't the best..LOL!
You can download them HERE
Subscribe to:
Posts
(Atom)
Snag Our Blinkies


Don't Be A Pirate!

