Tuesday, July 14, 2015
Chugga Chugga Choo Choo!!!!!!!! The Fantastically Free Blog Train is ready to roll!!!
This month we were all inspired by the beauty of Summer Rain...
Don't miss all of the other stops on this train...
**********************
**********************
Labels:Blog Trains,Freebies,FTU Kits | 1 comments
Wednesday, July 8, 2015
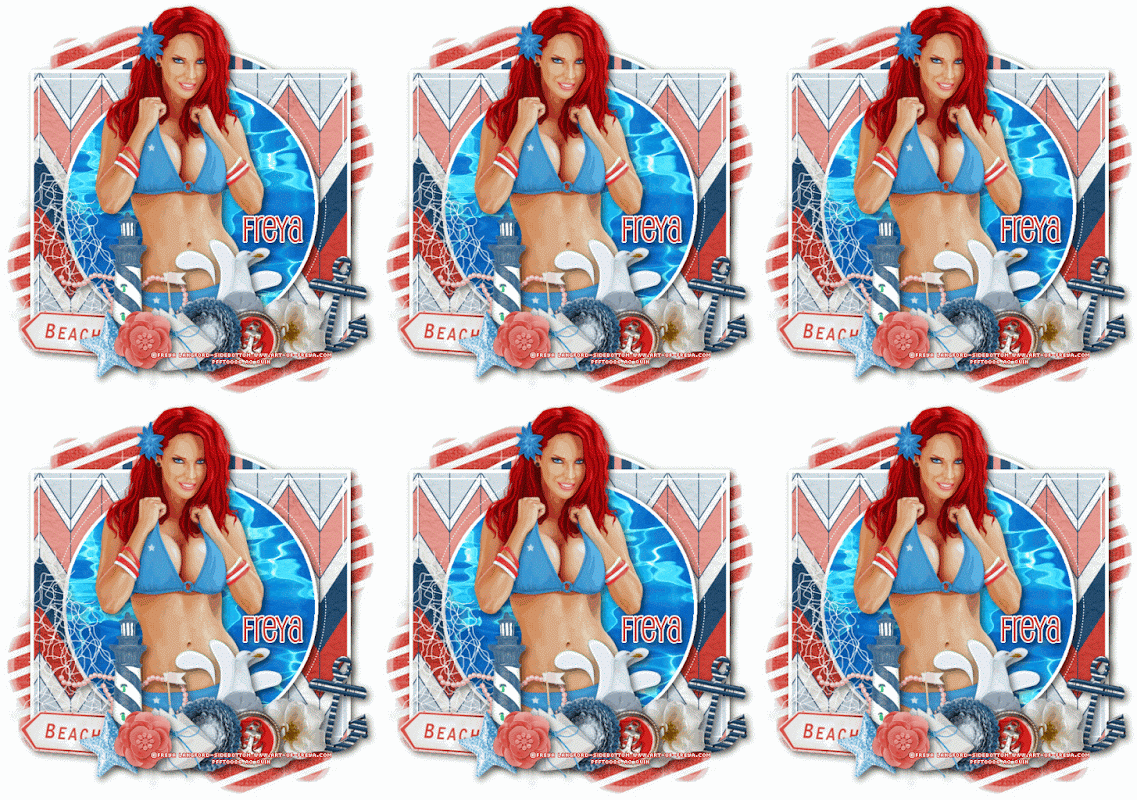
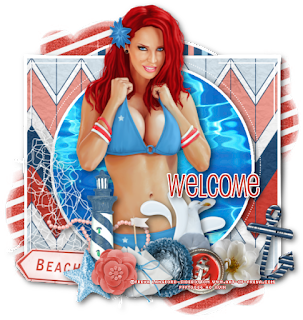
Check out this awesome new tube from Freya Langford-Sidebottom called Beach Bianca. You can grab her exclusively in issue 12 of Pinup Fantasies & Faerie Tales digital magazine...along with TONS of other awesome goodies of course.
Here some snags for all of you...DO NOT alter these snags in any way.
Labels:Art of Freya,Extras | 0
comments
Friday, July 3, 2015
This tutorial is of my own creation and any resemblance to any other tuts is purely coincidental. This tutorial is for personal use only, using it for monetary gain is against our TOU's.
Supplies Needed:
~Gimp (any version will do).
~PTU kit called Rainbow Beach by Jackie's Jewels, which you can find HERE.
~Artwork of choice. I used the artwork of Jeff Wilkie, you can find more info about his artwork HERE.
~Template of choice. I used MPM template 773 which you can get HERE.
~Mask of choice. I used WSL mask 84 which you can get HERE.
~Font of choice. I used Pussycat.
Let's get started!!!
1. Open a new layer ( I prefer a large canvas, so I make mine 1050x656). Make your canvas transparent (Layer > Transparency > Color to Alpha).
2. Open template in PSD format, move layers of template around until they are the way you like them.
~Add paper from scrapkit to individual layers of the template (Right click on template layer in layer box > Alpha to Selection > CTRL I > Select paper layer in layer box > Delete).
These are the papers I used:
Paper 8
Paper 9
Paper 14
~I colorized some of the template layers to better match the scrapkit (Colors > Colorize > play with the setting until you get the desired color).
~Add drop shadow to template layers (Filters > Light & Shadow > Drop Shadow).
3. Open artwork, add to layer of the template (Right click on template layer in layer box > Alpha to Selection > CTRL I > Select artwork layer in layer box > Delete).
4. Open and place the following elements:
1
8
14
16
17
20
36
39
40
46
55
56
59
66
93
94
97
99
101
109
~Some of the elements may need to be sized down. Using your scale tool in your tool box adjust the pixel size until element is the correct size~
~Add drop shadow to all elements (except 8 & 39)~
5. Open Paper 8
6. Open mask
7. Add mask to paper (click HERE for a tut on using masks).
8. Merge Layers (Image > Merge Visible Layers).
9. Crop Image (Image > Autocrop Image).
10. Scale image to desired size (Image > Scale Image).
11. Add copyright info and name.
12. Save as .png
ALL DONE!!!!!!!!!!
Labels:Jackie's Jewels,PTU tuts | 0
comments
Wednesday, July 1, 2015
This tutorial is of my own creation and any resemblance any other tut is purely coincidental. This tutorial is for personal use only, using it for monetary gain is against our TOU's.
Supplies:
Gimp or program of choice
PTU kit Dark Water from Gimptastic Scraps. You can purchase this kit exclusively at The PSP Project
Gimp or program of choice
PTU kit Dark Water from Gimptastic Scraps. You can purchase this kit exclusively at The PSP Project
Tube of choice. I am using the art of Joahannah von Frankenstein. You must have a proper license to use these tube. You can purchase the one I used at The PSP Project
Template 775 from Millie's PSP Madness
Mask 27 from weescotslass
Font: Bira
-Open template. Delete credits. Image>Scale Image 550x550 px. Image>Canvas Size 650x650 px and click center.
-Let's add papers to the template layers. Make the template layer active (see below). Right click template layer in layer box and choose alpha to selection. Open paper (see below). Right click paper layer in layer box and choose add alpha channel. Select>Invert. Press delete on your keyboard. Select>None. Filters>Light & Shadow>Drop Shadow 2, 2, 5, black, 50. Delete the original template layer. Here are the template layers and which papers I used:
-Let's add papers to the template layers. Make the template layer active (see below). Right click template layer in layer box and choose alpha to selection. Open paper (see below). Right click paper layer in layer box and choose add alpha channel. Select>Invert. Press delete on your keyboard. Select>None. Filters>Light & Shadow>Drop Shadow 2, 2, 5, black, 50. Delete the original template layer. Here are the template layers and which papers I used:
1- paper 1
2- paper 8
4- paper 4
5- paper 10---Do not select none. Open paper 5. Add alpha channel. Delete. Invert. Select>Shrink 5. Delete. Select none. Repeat drop shadow.
-Open tube. Place on the square we just worked on. Move below (in the layer box) frame we just made. Erase parts of the tube outside of the frame. Change the mode to value and lower opacity to 20.
-Open tube. Move below the word art layer. Scale 75%. Place center of tag. Repeat drop shadow.
-Open frame 5. Make the bottom layer. Scale 90%. Select the rotate tool and click canvas. Put -10 in the angle box. Select the fuzzy select tool. Click inside frame. Select>Grow 3. Open paper 2. Move below frame in the layer box. Add alpha channel. Invert & delete. Select none. Repeat drop shadow on frame.
Elements:
2
7
10
11
14
16 (flip)
17
20
31 (rotate 90)
32 (flip)
33
34
37 (rotate 15)
38
42
45
48
49
50 (rotate -90)
51
52 (rotate -15)
55
-Using paper 10, apply your mask. Click HERE to learn how to use masks in Gimp.
-Add name and copyright and you're done!
Labels:PTU tuts,Results with Amys kits | 0
comments
Subscribe to:
Posts
(Atom)
Labels
12x12 Layout
A Taggers Scrap
Animated
Announcements
Art of Freya
Basic tuts
Blog Trains
CDO
Cluster Frame
CT tags
Extras
Forum Set
Freebies
FTU CU
FTU Kits
FTU tuts
Holiday
Jackie's Jewels
Kissing Kate
Masks
PTU Kits
PTU tuts
Quick Pages
Results
Results with Amys kits
Show Offs
Sweet Cravings Scraps
Tasha's Playground
Templates
Timeline Banners


