Sunday, January 31, 2016
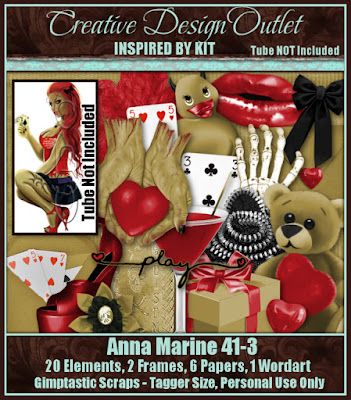
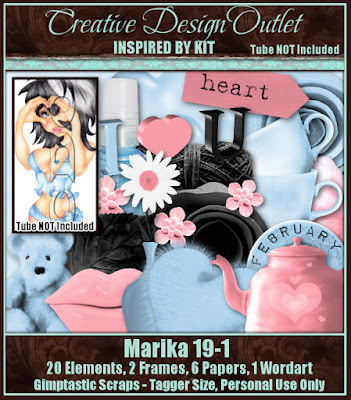
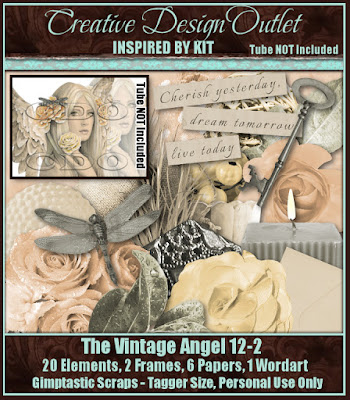
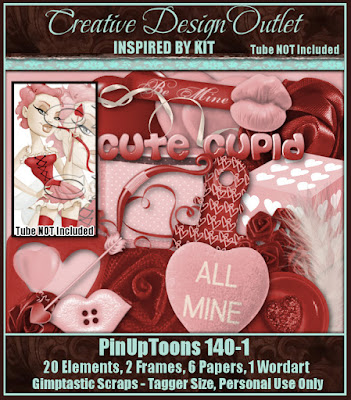
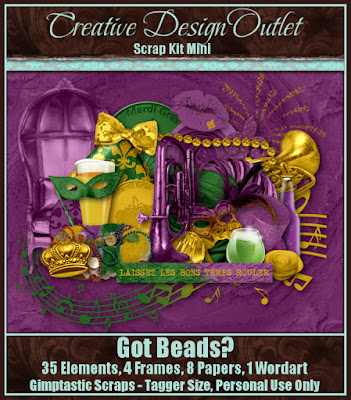
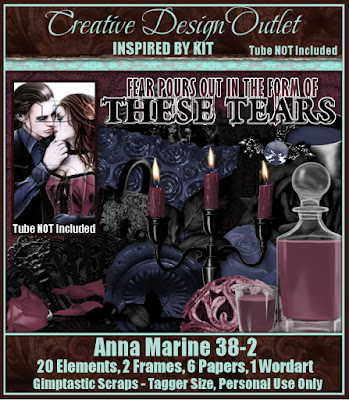
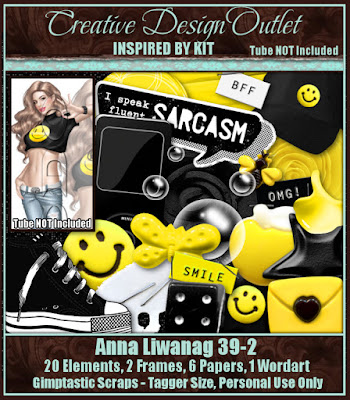
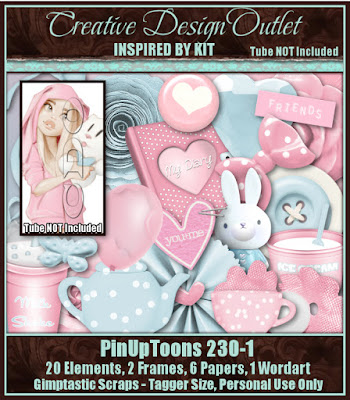
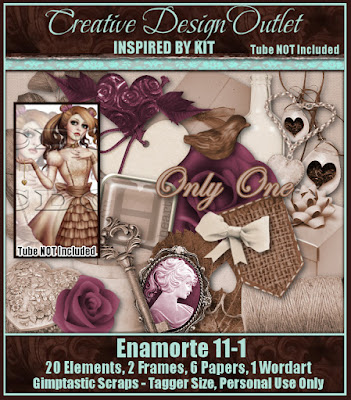
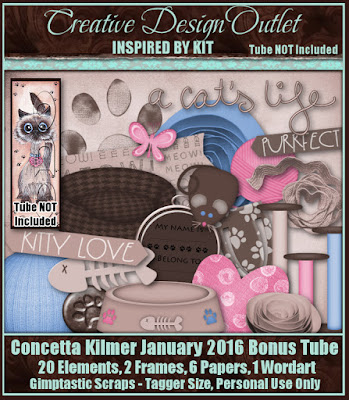
I'm a little late in posting these, but I have 2 new kits available this week @ CDO!!
Just click on the previews to check them out...
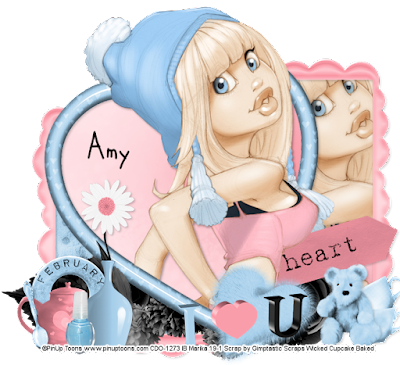
Here are some taggies made with these kits...
Labels:CDO,PTU Kits | 0
comments
Sunday, January 24, 2016
Supplies Needed:
~Gimp (any version will do).
~ PTU kit called Around Tha Way by Jackie's Jewels, which you can find HERE.
~Tube of choice. I used the artwork of Bam Bam, you can find more info about his art HERE.
~Template of choice. I used MPM temp 647 which you can get HERE.
~Font of choice. I used Sick Capital Vice.
Let's get started!!!
1. Open a new layer ( I prefer a large canvas, so I make mine 1050x656). Make your canvas transparent (Layer > Transparency > Color to Alpha).
2. Open template in PSD format, move layers of template around until they are the way you like them.
~Add paper from scrapkit to individual layers of the template (Right click on template layer in layer box > Alpha to Selection > CTRL I > Select paper layer in layer box > Delete).
These are the papers I used:
Paper 1
Paper 4
Paper 5
Paper 6
Paper 9
~I colorized some of the template layers to better match the scrapkit (Colors > Colorize > play with the setting until you get the desired color).
~Add drop shadow to template layers (Filters > Light & Shadow > Drop Shadow).
3. Open tube, add drop shadow.
4. Open and place the following elements:
3
5
7
12
16
17
24
28
33
37
48
60
62
68
72
73
76
77
82
~Some of the elements may need to be sized down. Using your scale tool in your tool box adjust the pixel size until element is the correct size~
~Add drop shadow to all elements (except 12 & 16)~
5. Merge Layers (Image > Merge Visible Layers).
6. Crop Image (Image > Autocrop Image).
7. Scale image to desired size (Image > Scale Image).
8. Add copyright info and name.
9. Save as .png
ALL DONE!!!!!!!!!!
Labels:Jackie's Jewels,PTU tuts | 0
comments
Friday, January 22, 2016
It is Friday once again and that means new kits to play with at CDO!!!
Click on the previews below to check out the new goodies...
Labels:CDO,PTU Kits | 0
comments
Thursday, January 21, 2016
Supplies Needed:
~Gimp (any version will do).
~ PTU kit called I Love You Beary Much by Kissing Kate, which you can find HERE.
~Tube of choice. I used the artwork of VeryMany, you must have a license to use this art which you can get HERE.
~Template of choice. I used MPM temp 485 which you can get HERE.
~Font of choice. I used Of Wildflowers and Wings.
Let's get started!!!
1. Open a new layer ( I prefer a large canvas, so I make mine 1050x656). Make your canvas transparent (Layer > Transparency > Color to Alpha).
2. Open template in PSD format, move layers of template around until they are the way you like them.
~Add paper from scrapkit to individual layers of the template (Right click on template layer in layer box > Alpha to Selection > CTRL I > Select paper layer in layer box > Delete).
These are the papers I used:
Paper 1
Paper 5
Paper 7
Paper 8
Paper 9
Paper 9
Paper 10
~I colorized some of the template layers to better match the scrapkit (Colors > Colorize > play with the setting until you get the desired color).
~Add drop shadow to template layers (Filters > Light & Shadow > Drop Shadow).
3. Open tube, add drop shadow.
4. Open and place the following elements:
2
5
10
14
16
23
25
27
34
35
47
50
53
62
68
72
73
77
80
~Some of the elements may need to be sized down. Using your scale tool in your tool box adjust the pixel size until element is the correct size~
~Add drop shadow to all elements (except 80)~
~Some of the elements may need to be sized down. Using your scale tool in your tool box adjust the pixel size until element is the correct size~
~Add drop shadow to all elements (except 80)~
5. Merge Layers (Image > Merge Visible Layers).
6. Crop Image (Image > Autocrop Image).
7. Scale image to desired size (Image > Scale Image).
8. Add copyright info and name.
9. Save as .png
ALL DONE!!!!!!!!!!
Labels:Kissing Kate,PTU tuts | 0
comments
Tuesday, January 19, 2016
Here are 3 more former PTU kits that are now FTU. I hope you all enjoy!!!
Please leave a thank you if you download...
Labels:Freebies,FTU Kits | 30
comments
Friday, January 15, 2016
That's right, it's Scrap Friday again at CDO!! Of course that means new goodies to play with.
Click on the previews to head over to CDO and check out what's new...
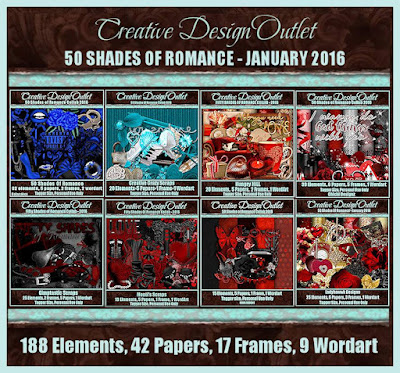
Be sure to check out the 50 Shades of Romance Collab...
You can get this collab for FREE if you buy any 3 CDO scrap
kits between now & 10pm PST 31st January 2016.
You can buy ANY three kits you want - An Inspired By kit, a mini, a regular, a mega kit and even artist bundle kits. You can also mix and match, it doesn't matter who the designer is!
So just buy any 3 kits and we will automatically send you the collab for FREE!
Scroll down to the bottom of this newsletter to see the bigger preview as we can't fit all the goodies in the banner!
In total there are 188 elements, 17 frames, 9 word arts and 42 papers!
Labels:CDO,PTU Kits | 0
comments
Thursday, January 14, 2016
Toot Toot!!!!! The Fantastically Free Blog Train is rolling out and this month we Love you To Pieces!!!!
Be sure to check out all of the other stops on this train...
*********************
*********************
Labels:Blog Trains,Freebies,FTU Kits | 6
comments
Tuesday, January 12, 2016
This tutorial is of my own creation and any resemblance to any other tuts is purely coincidental. This tutorial is for personal use only, using it for monetary gain is against our TOU's.
Supplies Needed:
~Gimp (any version will do).
~PTU kit called Friends Forever by Jackie's Jewels, which you can find HERE.
~Tube of choice. I used the artwork of Nocturne, you must have a license to use this art which you can get HERE.
~Template of choice. I used HPD template 156 which you can get HERE.
~Mask of choice. I used LNL Tree Tops mask which you can get HERE.
~Font of choice. I used Bilbo.
Let's get started!!!
1. Open a new layer ( I prefer a large canvas, so I make mine 1050x656). Make your canvas transparent (Layer > Transparency > Color to Alpha).
2. Open template in PSD format, move layers of template around until they are the way you like them.
~Add paper from scrapkit to individual layers of the template (Right click on template layer in layer box > Alpha to Selection > CTRL I > Select paper layer in layer box > Delete).
These are the papers I used:
Paper 2
Paper 4
Paper 10
~I colorized some of the template layers to better match the scrapkit (Colors > Colorize > play with the setting until you get the desired color).
~Add drop shadow to template layers (Filters > Light & Shadow > Drop Shadow).
3. Open tube, add drop shadow.
4. Open and place the following elements:
5
6
8
15
16
17
18
20
25
26
28
29
32
33
35
36
41
43
44
45
47
48
52
~Some of the elements may need to be sized down. Using your scale tool in your tool box adjust the pixel size until element is the correct size~
~Add drop shadow to all elements (except 32)~
5. Open Paper 3
6. Open mask
7. Add mask to paper (click HERE for a tut on using masks).
8. Merge Layers (Image > Merge Visible Layers).
9. Crop Image (Image > Autocrop Image).
10. Scale image to desired size (Image > Scale Image).
11. Add copyright info and name.
12. Save as .png
ALL DONE!!!!!!!!!!
Labels:Jackie's Jewels,PTU tuts | 0
comments
Sunday, January 10, 2016
This tutorial is of my own creation and any resemblance to any other tuts is purely coincidental. This tutorial is for personal use only, using it for monetary gain is against our TOU's.
Supplies Needed:
~Gimp (any version will do).
~PTU kit called Steampunk Vampire by Kissing Kate, which you can find HERE.
~Tube of choice. I used the artwork of Zindy S.D. Nielsen, you must have a license to use this art which you can get HERE.
~Template of choice. I used MPM template 394 which you can get HERE.
~Mask of choice. I used MPM mask 18 which you can get HERE.
~Font of choice. I used Versitia.
Let's get started!!!
1. Open a new layer ( I prefer a large canvas, so I make mine 1050x656). Make your canvas transparent (Layer > Transparency > Color to Alpha).
2. Open template in PSD format, move layers of template around until they are the way you like them. I deleted the wordart layer of the template.
~Add paper from scrapkit to individual layers of the template (Right click on template layer in layer box > Alpha to Selection > CTRL I > Select paper layer in layer box > Delete).
These are the papers I used:
Paper 1
Paper 3
Paper 4
Paper 5
Paper 9
~I colorized some of the template layers to better match the scrapkit (Colors > Colorize > play with the setting until you get the desired color).
~Add drop shadow to template layers (Filters > Light & Shadow > Drop Shadow).
3. Open tube, add drop shadow.
4. Open and place the following elements:
2
4
7
16
25
26
29
31
38
40
41
46
53
56
59
61
63
64
~Some of the elements may need to be sized down. Using your scale tool in your tool box adjust the pixel size until element is the correct size~
~Add drop shadow to all elements~
5. Open Paper 7
6. Open mask
7. Add mask to paper (click HERE for a tut on using masks).
8. Merge Layers (Image > Merge Visible Layers).
9. Crop Image (Image > Autocrop Image).
10. Scale image to desired size (Image > Scale Image).
11. Add copyright info and name.
12. Save as .png
ALL DONE!!!!!!!!!!
Labels:Kissing Kate,PTU tuts | 0
comments
Friday, January 8, 2016
That's right folks, it's been a couple of weeks but it is finally time for new goodies at CDO.
Click on the previews to check out what's new...
Here are some tags made with these kits:
Labels:CDO,PTU Kits | 0
comments
Subscribe to:
Posts
(Atom)
Labels
12x12 Layout
A Taggers Scrap
Animated
Announcements
Art of Freya
Basic tuts
Blog Trains
CDO
Cluster Frame
CT tags
Extras
Forum Set
Freebies
FTU CU
FTU Kits
FTU tuts
Holiday
Jackie's Jewels
Kissing Kate
Masks
PTU Kits
PTU tuts
Quick Pages
Results
Results with Amys kits
Show Offs
Sweet Cravings Scraps
Tasha's Playground
Templates
Timeline Banners
Chit Chat
Blog Archive
-
▼
2016
(49)
-
▼
January
(10)
- New Goodies @ CDO!!!
- PTU tut - Around Tha Way
- Yay!!! It's Scrap Friday @ CDO!!!
- PTU tut - I Love You Beary Much
- 3 More Former PTU kits now FTU
- It's Scrap Friday @ Creative Design Outlet
- The Fantastically Free Blog Train - Love You to Pi...
- PTU tut - Friends Forever
- PTU tut - Darkest Night
- Yay!!! It's Scrap Friday @ CDO
-
▼
January
(10)


