Gimptastic Scraps Available Exclusively @

Gimptastic Scraps CT


Blog Trains

CU Licenses


Friday, December 22, 2017
Merry (almost) Christmas!!!!!!!
It's Scrap Friday @ CDO and I've got a couple of new kits for you. One winter themed and one New Year themed. I hope you like what you see. If you do just click on the preview to head on over to CDO and check them out.
As always scroll down and check out some fab tags made by my CT.

Don't miss out on the CDO collab this month...
The CDO scrap designers have made a gorgeous Birthday Celebration themed
collab kit to giveaway to you this month!!
You can get this collab for FREE if you buy any 3 CDO scrap kits between now & 10pm PST 31st December 2017.
You can buy ANY three kits you want - An Inspired By kit, a mini, a regular, a mega kit and even artist bundle kits. The offer only applies to scrap kits purchased after the promo began.
In total there are 160 elements, 16 frames, 10 word arts and 44 papers!

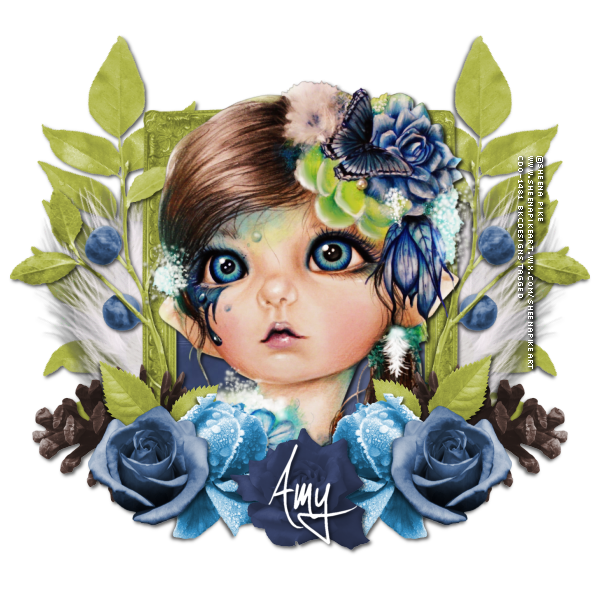
Here are some awesome tags made by my CT:


Friday, December 1, 2017
Hello all! The holidays are in full swing and I have some new Christmas and winter themed kits available @ CDO! Check click on the previews to head over and check them out.


Here are some tags made by my awesome CT:


Sunday, October 15, 2017
Hello everyone! I have some new goodies for you this week @ CDO. Just click on the previews to head on over and check out what's new. And of course be sure to scroll down to check out some awesome tags from my CT.
Be sure to check out the Autumn Spice Collab @ CDO...

You can get this collab for FREE if you buy any 3 CDO scrap kits
between now & 10pm PST 31st October 2017.
You can buy ANY three kits you want - An Inspired By kit, a mini, a regular, a mega kit and even artist bundle kits. You can also mix and match, it doesn't matter who the designer is!
This offer is not retro active. The offer only applies to scrap kits purchased after the promo began.
In total there are 244 elements, 18 frames, 12 word arts and 55 papers!

Here are some outstanding tags from my CT:


Subscribe to:
Posts
(Atom)
Snag Our Blinkies


Don't Be A Pirate!

