Monday, January 14, 2013
This tutorial is of my own creation and any resemblance to any other tuts is purely coincidental. This tutorial is for personal use only, using it for monetary gain is against our TOU's
Supplies:
Gimp or program of choice
PTU kit Bliss from Sweet Cravings Scraps
Mask- 214 from weescotslass
Font- KG Only Hope
-File>New 600x600 px.
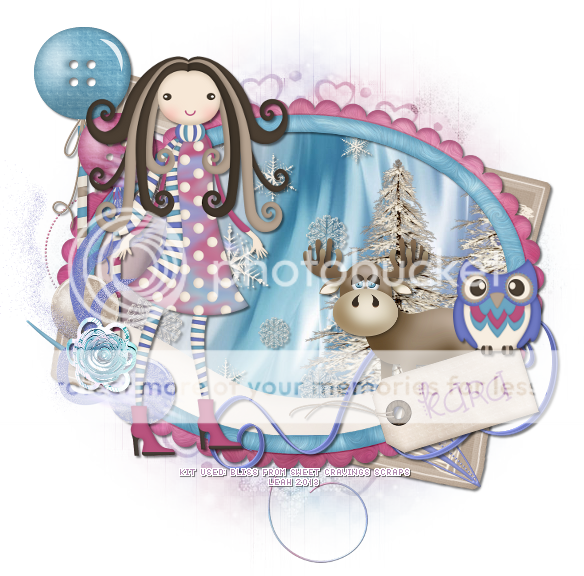
-Open frame 1. Select the rotate tool and click canvas. In the angle box put 90. Layer>Scale Layer 65%. Select the magic wand and click insdie the canvas. Select>Grow 5. Open paper 3 and move paper layer below frame layer in layer box. Layer>Transparency>Add Alpha Channel. Scale 65%. Select>Invert. Press delete on keyboard. Open snowy hill. Scale 60%. Place inside th eframe near the bottom. Delete. Oepn trees. Move trees below snow layer. Scale 50%. Delete. Select>None. Make the frame layer active. Filters>Light & Shadow>Drop Shadow 2, 2, 2, black, 50.
-Open winter girl. Make the top layer. Scale 40%. Place to the right side of frame. Repeat drop shadow.
-Open frame 3. Make the bottom layer. Scale 60%. Rotate 15. Place in the center of tag. Repeat drop shadow.
Elements:
doodle 1 & 2
tag
snowflakes
owl
moose (flip)
flower 5
snowflake pearl 1 & 3
flair 2
lollipop button 1 & 3
-Open paper 9. Make the bottom layer. Apply mask. Click HERE to learn how to use masks in gimp.
-Add your name and copyright and you're done!
Labels:PTU tuts,Sweet Cravings Scraps
Subscribe to:
Post Comments
(Atom)
Labels
12x12 Layout
A Taggers Scrap
Animated
Announcements
Art of Freya
Basic tuts
Blog Trains
CDO
Cluster Frame
CT tags
Extras
Forum Set
Freebies
FTU CU
FTU Kits
FTU tuts
Holiday
Jackie's Jewels
Kissing Kate
Masks
PTU Kits
PTU tuts
Quick Pages
Results
Results with Amys kits
Show Offs
Sweet Cravings Scraps
Tasha's Playground
Templates
Timeline Banners
Chit Chat
Blog Archive
-
▼
2013
(230)
-
▼
January
(26)
- Brat Pack Blog Train - Love Me Tender
- Contest Time!!!!!
- PTU Tut- Love Me
- PTU Tut- Crazy For You
- PTU Tut- Emo Girl
- Template Freebie
- PTU tut - Raspberry Ripple Romance
- Gimptastic Scraps CT results
- Valentine Templates 170-172
- PTU Tut- Dead Of Night
- PTU tut - Girls Just Wanna Have Fun
- Super Saver Tuesday @ Heartfelt Perfections
- Fantastically Free Blog Train - Wild Thing
- PTU Tut- Winter Bliss
- PTU Tut- Gothique
- PTU Tut- Cold As Ice
- PTU Tut- Enter If You Dare
- Gimptastic Scraps CT results
- PTU Tut- Punkified
- PTU Tut- Goodbye 2012
- Cluster Frame Freebie
- Gimptastic Scraps CT results
- Happy New Year Facebook Timeline
- PTU Tut- Winter
- Templates 167-169
- Former PTU kit now FTU - Snow Cute + CT results
-
▼
January
(26)


0 comments:
Post a Comment