Saturday, August 29, 2015
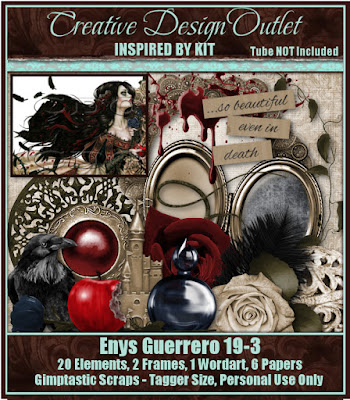
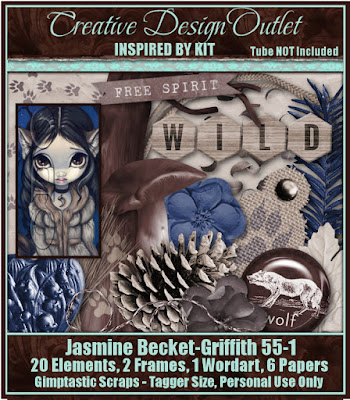
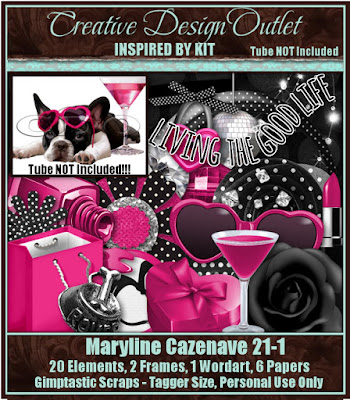
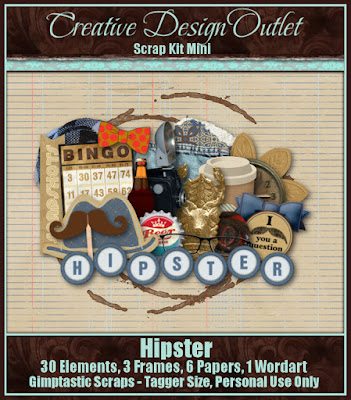
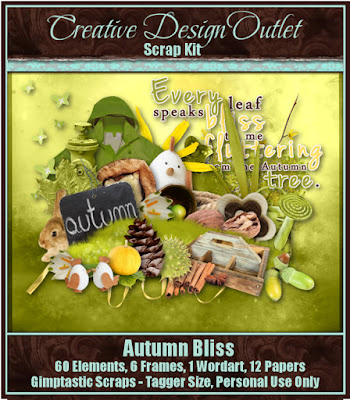
That's right!!!!! You can now find Gimptastic Scraps at Creative Design Outlet!!!!
I am so excited about this awesome opportunity!!!
Labels:CDO,PTU Kits | 0
comments
Friday, August 14, 2015
Toot Toot!!!!! The Fantastically Free Blog Train is rolling out!!!!
This month our theme was Bookworm...
Don't miss all of the other great stops on this train...
*******************
********************
Labels:Blog Trains,Freebies,FTU Kits | 8
comments
Tuesday, August 11, 2015
This tutorial is of my own creation and any resemblance to any other tuts is purely coincidental. This tutorial is for personal use only, using it for monetary gain is against our TOU's.
Supplies Needed:
~Gimp (any version will do).
~PTU kit called Whispered Bliss by Tasha's Playground, which you can find exclusively @ CDO HERE.
~Tube of choice. I used the artwork of VeryMany, you must have a license to use this art which you can get HERE.
~Template of choice. I used MPM template 650 which you can get HERE.
~Mask of choice. I used Leather & Lace Ads mask 2 which you can get HERE.
~Font of choice. I used Allura.
Let's get started!!!
1. Open a new layer ( I prefer a large canvas, so I make mine 1050x656). Make your canvas transparent (Layer > Transparency > Color to Alpha).
2. Open template in PSD format, move layers of template around until they are the way you like them.
~Add paper from scrapkit to individual layers of the template (Right click on template layer in layer box > Alpha to Selection > CTRL I > Select paper layer in layer box > Delete).
These are the papers I used:
Paper 1
Paper 4
Paper 5
Paper 7
~I colorized some of the template layers to better match the scrapkit (Colors > Colorize > play with the setting until you get the desired color).
~Add drop shadow to template layers (Filters > Light & Shadow > Drop Shadow).
3. Open tube, add drop shadow.
4. Open and place the following elements:
1
4
7
8
9
10
13
19
23
28
34
35
37
39
40
41
42
frame 1
Wordart
~Some of the elements may need to be sized down. Using your scale tool in your tool box adjust the pixel size until element is the correct size~
~Add drop shadow to all elements~
5. Open Paper 6
6. Open mask
7. Add mask to paper (click HERE for a tut on using masks).
8. Merge Layers (Image > Merge Visible Layers).
9. Crop Image (Image > Autocrop Image).
10. Scale image to desired size (Image > Scale Image).
11. Add copyright info and name.
12. Save as .png
ALL DONE!!!!!!!!!!
Labels:PTU tuts,Tasha's Playground | 0
comments
Thursday, August 6, 2015
PTU Kit Clockwork Gothic from Gimptastic tuts. Purchase this kit exclusively at The PSP Project.
Tube of choice. I am using the art of Verymany. You must have a license to use these tubes. Purchase the one I used at Pics For Design
Fonts- Mf Feel My Heart & Young & Beautiful
-File>New 700x700 px.
-Open frame 2. Layer>Scale Layer 85%. Place center of canvas. Select the magic wand and click inside the frame. Select>Grow 5. Open paper 4. Move below frame layer in the layer box. Right click layer in layer box and choose Add Alpha Channel. Select>Invert. Press delete on keyboard. Open tube. Place in selection. Make sure it is above paper layer. Delete. Select>None. Change the mode of the tube to Value and lower the opacity to 50. Make the frame active. Filters>Light & Shadow>Drop Shadow 0, 0, 10, black, 50.
-Open frame 2 again. Make the bottom layer. Place center of canvas. Repeat drop shadow.
-Open frame 3. Make the bottom layer. Scale 75%. Place at the top left of tag. Layer>Duplicate Layer. Place duplicate at the bottom right of tag. Repeat drop shadow on both frames.
-Open tube. Make top layer. Scale 50%. Place right side of tag. Repeat drop shadow.
-Open ele 24. Make the top layer. Scale 50%. Select the rotate tool. Click canvas. In the angle put 15. Place bottom right of tag. Repeat drop shadow.
-Open ele 13. Move below the 1st frame layer. Scale 50%. Rotate -15. Place bottom left of tag. Repeat drop shadow.
Elements:
1
2
9
16
18
2
9
16
18
22
27
29
29
30
32
33
34
32
33
34
47
48
49
48
49
55
56
57
56
57
58
59
-Select the text tool. Font: Feel My Heart Foreground: Black Size: 70. Click canvas and type Beautiful. Place text top left of tag. Alpha to selection. Select>Grow 1. Add new layer and move below current text layer. Change foreground to white. Select the bucket fill tool and fill selection. Select none. Repeat drop shadow. Now change foreground to a41315 and text size to 55. Click canvas and type disaster. Place under Beautiful text. Add new layer and move below current text. Foreground: black. Grow 1. Bucket fill black. Select none. Repeat drop shadow.
-Add name with Young & Beautiful and also add copyright.
Labels:PTU tuts,Results with Amys kits | 0
comments
Subscribe to:
Posts
(Atom)
Labels
12x12 Layout
A Taggers Scrap
Animated
Announcements
Art of Freya
Basic tuts
Blog Trains
CDO
Cluster Frame
CT tags
Extras
Forum Set
Freebies
FTU CU
FTU Kits
FTU tuts
Holiday
Jackie's Jewels
Kissing Kate
Masks
PTU Kits
PTU tuts
Quick Pages
Results
Results with Amys kits
Show Offs
Sweet Cravings Scraps
Tasha's Playground
Templates
Timeline Banners


