Gimptastic Scraps Available Exclusively @

Gimptastic Scraps CT







Blog Trains

CU Licenses











This tutorial is of my own creation and any resemblance any other tut is purely coincidental. This tutorial is for personal use only, using it for monetary gain is against our TOU's.
Animation- 167 from Scrappy Bit Of Fun
Fonts- Michroma & Sofia
-File>New 600x225 px.
-Choose 2 colors from tube. For my foreground I am using f0559d and the background f6a8ce. Select the blend tool. Gradient: FG to BG (RGB), Shape: Linear. Click the top left corner of canvas and drag mouse down to the bottom right.
-Open texture. Layer>Scale Layer 70%. Layer>Layer To Image Size. Change the mode to screen.
-Open tube. Place to the far left side of tag. Layer>Duplicate Layer. Move to the left a little. Layer>Merge Dow (to merge 2 tube layers together). Layer to image size. Duplicate. Select flip tool and click canvas. Merge all tube layers together. Change the mode to overlay.
-Open tube again. Scale 75%. Place on center of tag. Filters>Light & Shadow>Drop Shadow 1, 1, 5, black, 35. Duplicate. Filters>Blur>Gaussian Blur on default. Change mode to screen and lower the opacity to 65.
-Select the rectangle select tool. Make a fairly large rectangle selection on the center of tag. Layer>New Layer. Move this new layer below the main tube layers in the layer box. Add gradient to selection. Change mode to hard light. Filters>Distorts> Blinds on default. New Layer. Change foreground color to white. Select the bucket fill tool and fill selection. Filters>Noise>RGB Noise on default. Select>Shrink 2. Press delete on keyboard. Select>Grow 2. New Layer. Move below white bucket filled layer. Bucket fill with black. Shrink 2. Delete. Grow 2. Repeat Gaussian blur. Select none.
-Select the text tool. Font: Michroma, Size: 15, Foreground color: f0559d. Click canvas and type 'Baby it's cold outside'. Place text on center left of canvas. Duplicate. Place duplicate to the center right. Merge text layers together. Add drop shadow of 2, 2, 1, black, 15. Duplicate text layer. Place at the top of tag. Lower opacity to 15. Duplicate and place at the bottom of tag.
-Make top layer active. Add new layer. Bucket fill with f0559d. Layer>Transparency>Alpha To Selection. Shrink 3. Delete. Bucket fill white. Shrink 1. Delete. Bucket fill f6a8ce. Shrink 1. Delete. Select none.
-Add name and copyright.
non-animated version:

If you don't want to animate then your done.
I am putting my animation below the main tube layer. Click HERE to learn how to use animations in Gimp.
To make the avatar:
-Make the main tube layer, name and copyright layers invisible by clicking the little eye next to each layer in the layer box..
-Edit>Copy Visible.
-File>New 150x150 px.
-Edit>Paste As>New Layer. Place how you like.
-Add tube.
-Add border (repeat from banner)
-Ad name/initial and copyright and you're done!


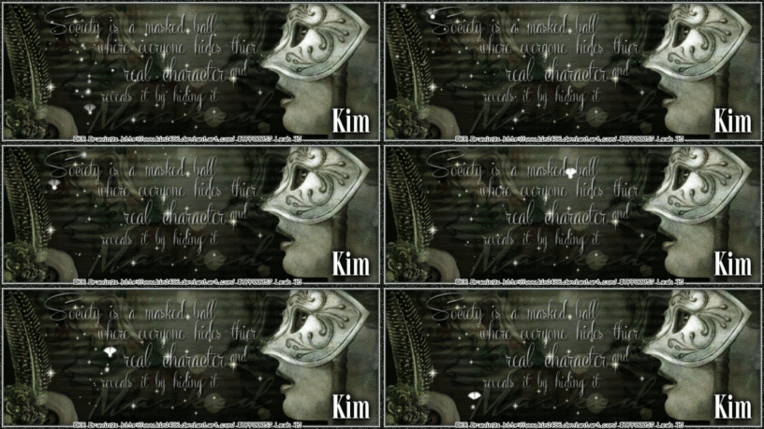


 This tutorial is of my own creation and any resemblance to any other tuts is purely coincidental. This tutorial is for personal use only, using it for monetary gain is against our TOU's.
 -Merge the 10 tube layers together. Move the merged tube layer under the texture layer. Change the mode to soft light. Rename layer tube merged.


 -Add your copyright.

 -Add new layer. Rename 2. Filters>Reshow Gradient Flare. Change the radius to 100.0. Click ok.
-Add new layer. rename this layer 3. Reshow gradient flare. Changeradius to 120.0. Click ok.
-You should now have 5 layers.
 -Make the bottom layer active. Duplicate this layer 2 times for a total of 3. Make top layer active and duplicate 2 times for a total of 3.
 -Next we need to rearrange our layers to get ready to animate. Arrange your layers like I did in the picture below.

-Now we need to merge some layers. Merge top copy #1, 1 & bottom copy #1 together.

-Merge top copy, 2 & bottom copy together.
 -Merge top, 3 and bottom together. Now you should only have 3 layers.

-Go to Filters>Animation>Playback to see your animation in action.
-If you are happy with it, it is time to save. Filters>Save As


AVATAR:
-Open the XCF image we saved earlier. Make all of the layers above the tube blur layer invisible by clicking the eye next to each layer. edit>Copy Visible.
-File>New 150x150 px.
-Edit>Paste As>New Layer. Name this layer bottom.
-Add your name. Name this layer name.
-Add border. Merge border layers together and name layer border.
-Add copyright. Name this layer copyright.
-Merge all layers (except bottom layer) together. You should have 2 layers.
-Add new layer. Move this layer below the tube layer. Name this layer 1. Gradient flare- change radius to 20.0.
-Add new layer. Name this layer 2. Gradient flare- change radius to 40.0.
-Add new layer. Name this layer 3. Gradient flare. Change radius to 60.0.
-Duplicate bottom layer 2 times. Duplicate top layer 2 times. Arrange the layers like the picture below.
 -Merge tube copy #1, 3 & bottom copy #1.
-Merge tube copy, 2 & bottom copy.
-Merge tube, 1 & bottom. Now you should have 3 layers left.
-Go to playback to see your animation.
Snag Our Blinkies





Don't Be A Pirate!

